
Macramé is an easy and relaxing hobby that anyone can learn to do with just a few basic macramé knots. Learn the beginner knots here that you’ll use in most macramé projects.
In just a few minutes, you can learn the basic macramé knots and start making plant hangers with a boho aesthetic. In this tutorial, I’ll teach you how to make five easy knots: the lark’s head and reverse lark’s head, left- and right-facing half square knots, and the square knot.
Here are the beginner macramé knots with detailed, step-by-step instructions and photos to help you along.
Disclaimer: we may receive a small commission when you make a purchase from a link on this site, at no added charge to you. See our disclosure policy for more info.
Lark’s head knot
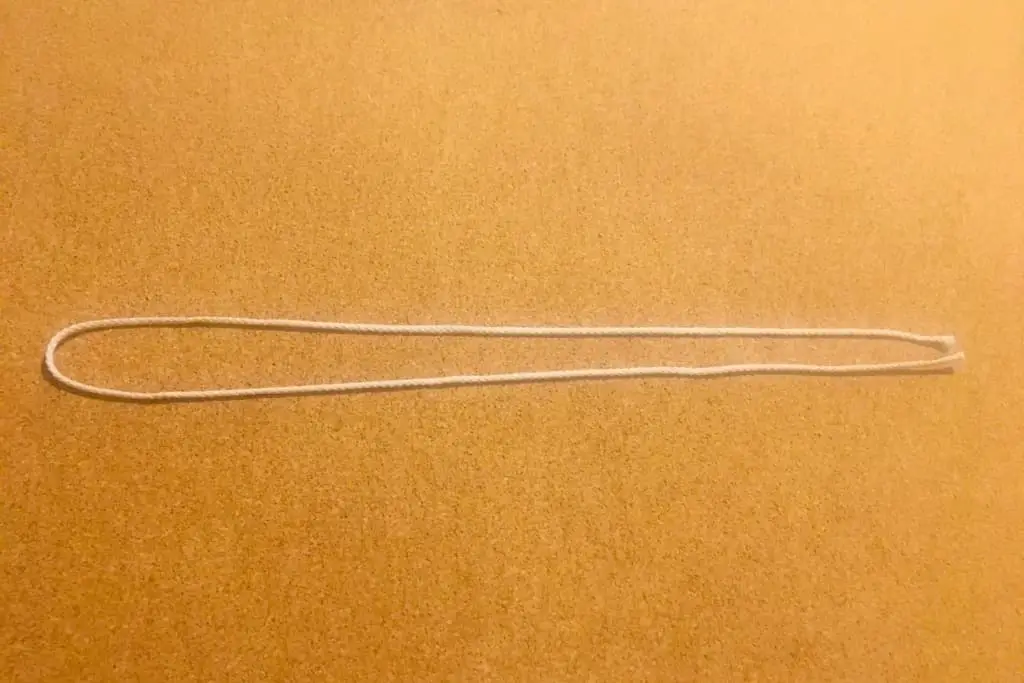
The lark’s head is a basic macramé knot that’s used to anchor a cord to a hanging ring, a dowel, or another piece of cord. This knot is made with a single length of macramé cord that you fold in half.
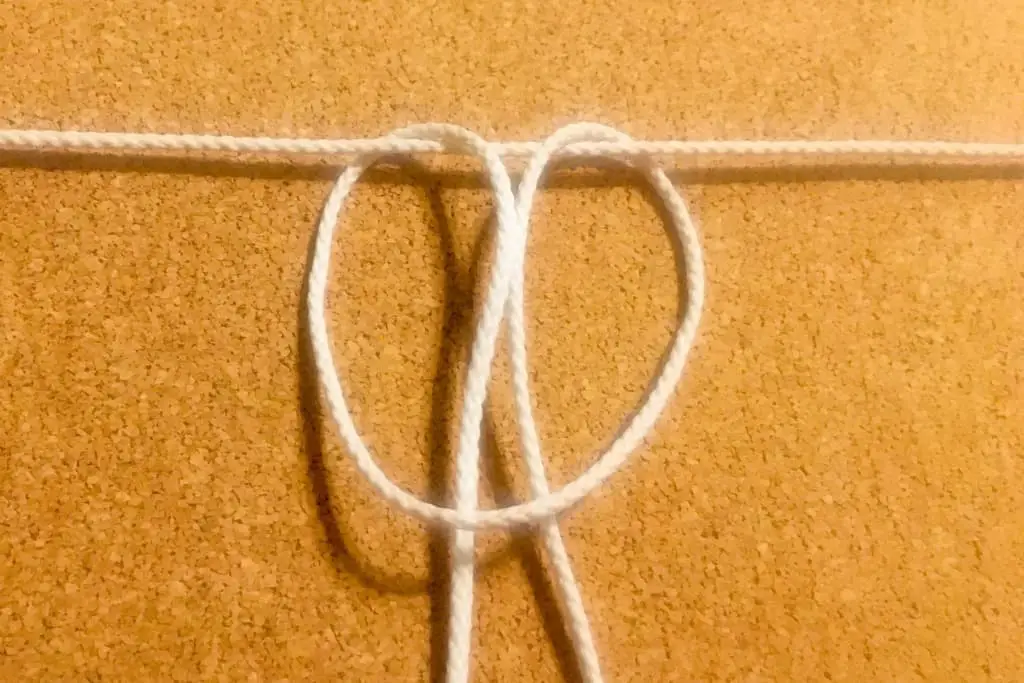
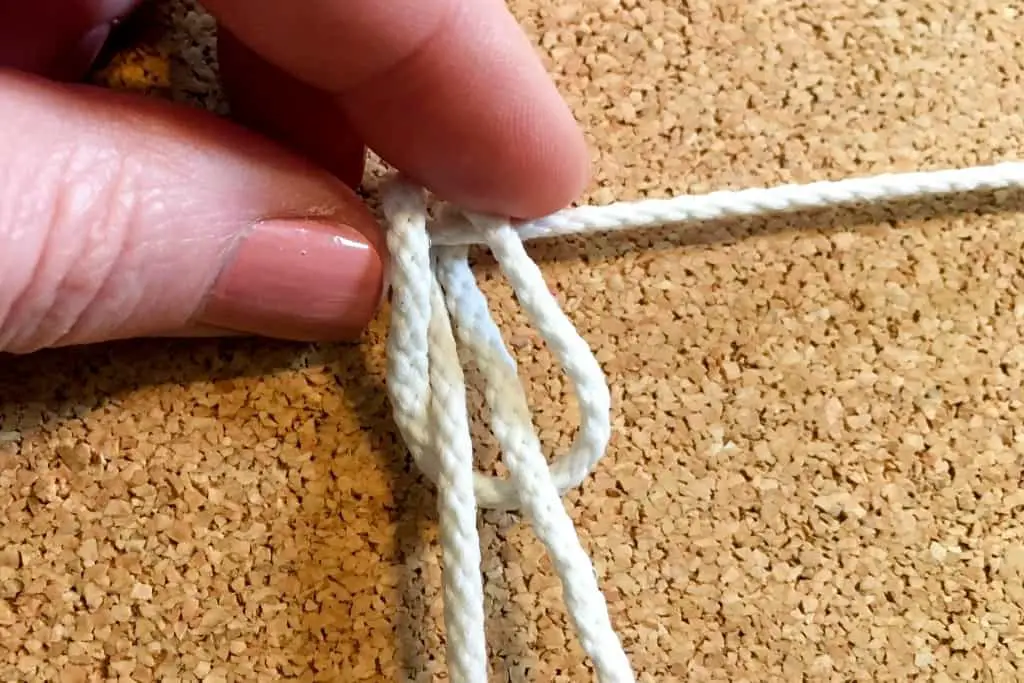
Hold your folded cord with the looped side facing where you want to make your knot. In the photo below, I’m going to make a lark’s head knot onto another length of macramé cord.
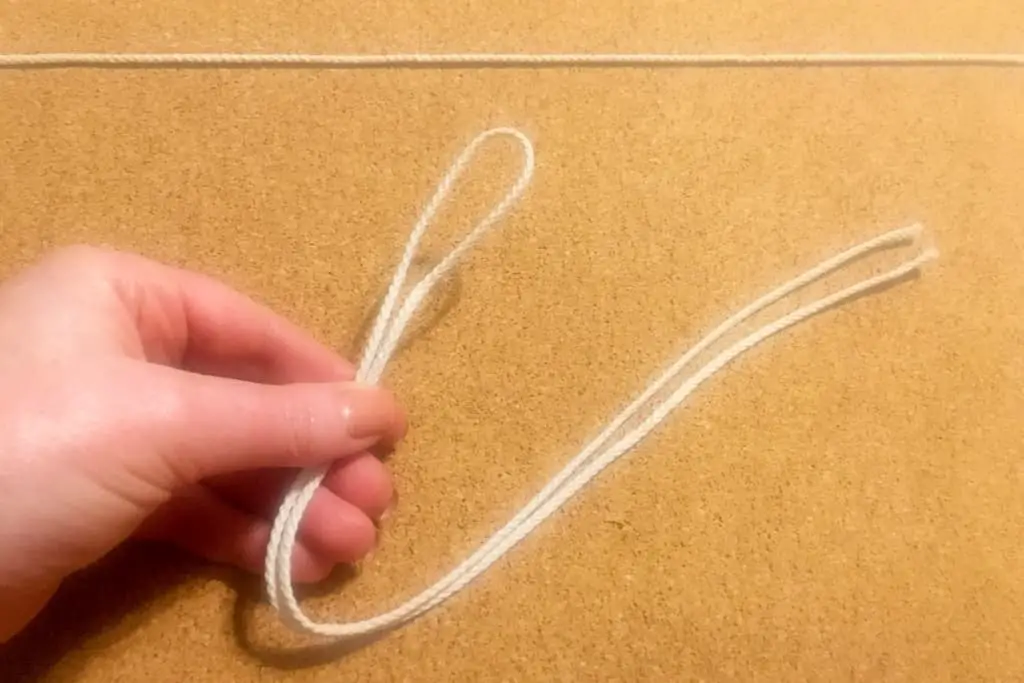
Pass the loop over the top of whatever you’re attaching it to—in this case a length of cord. Bring the loop down so it’s behind the cord.
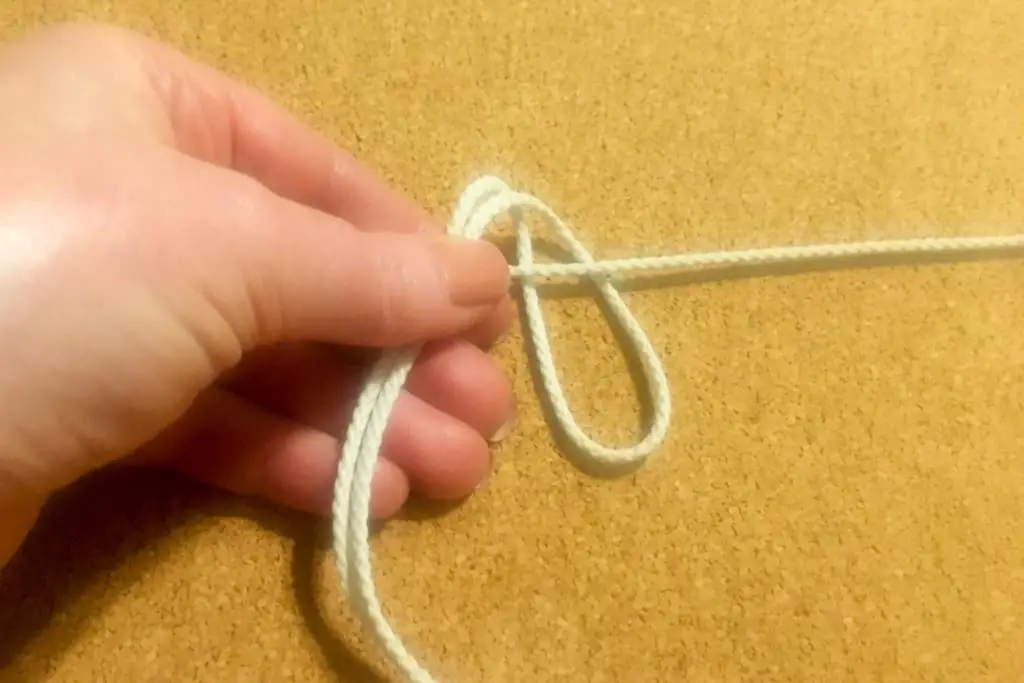
Thread the loose ends through the loop.
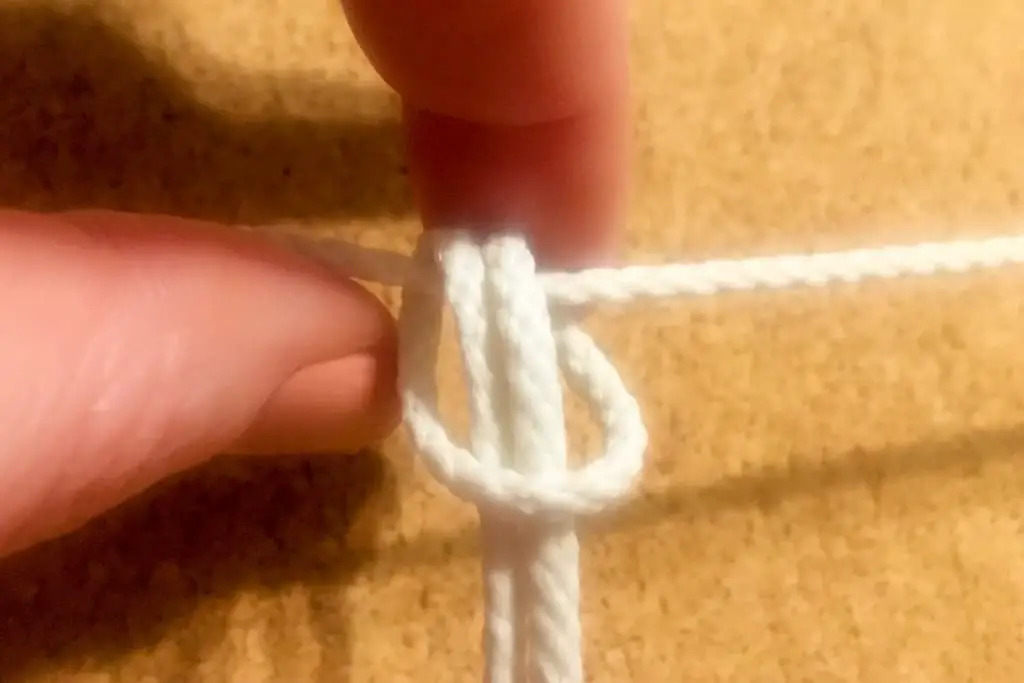
Pull the loose ends down to make a pretzel shape.
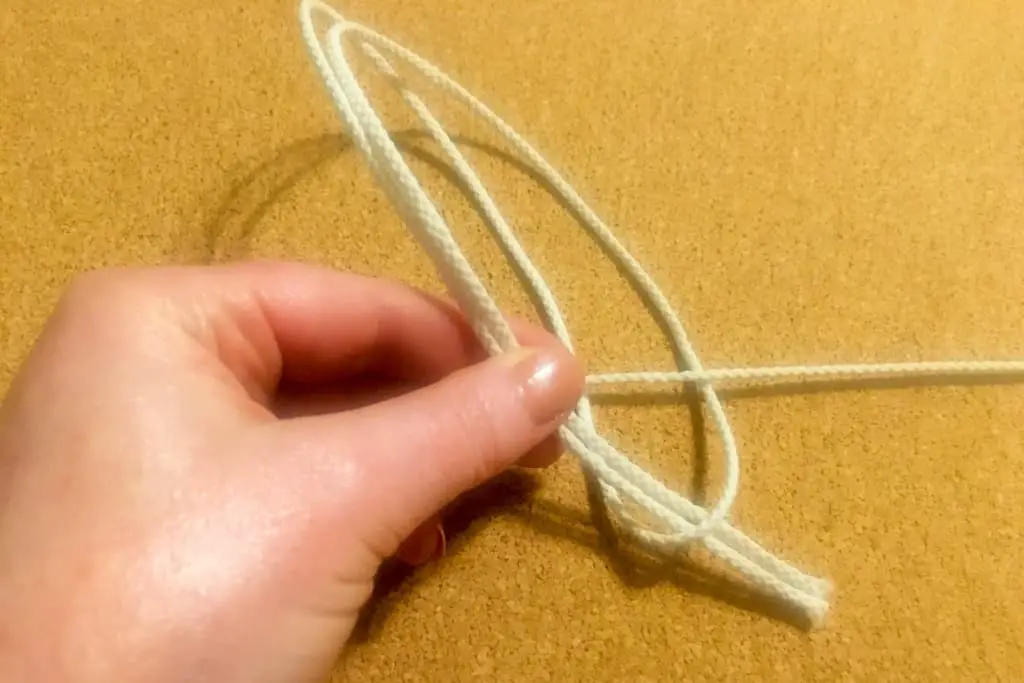
Keep pulling, and your knot will tighten. Pinch the knot with your finger and thumb to keep the tails of the cord straight. Don’t let the two tail pieces cross or overlap—they should be side-by-side and perpendicular to the cord you’re knotting onto.
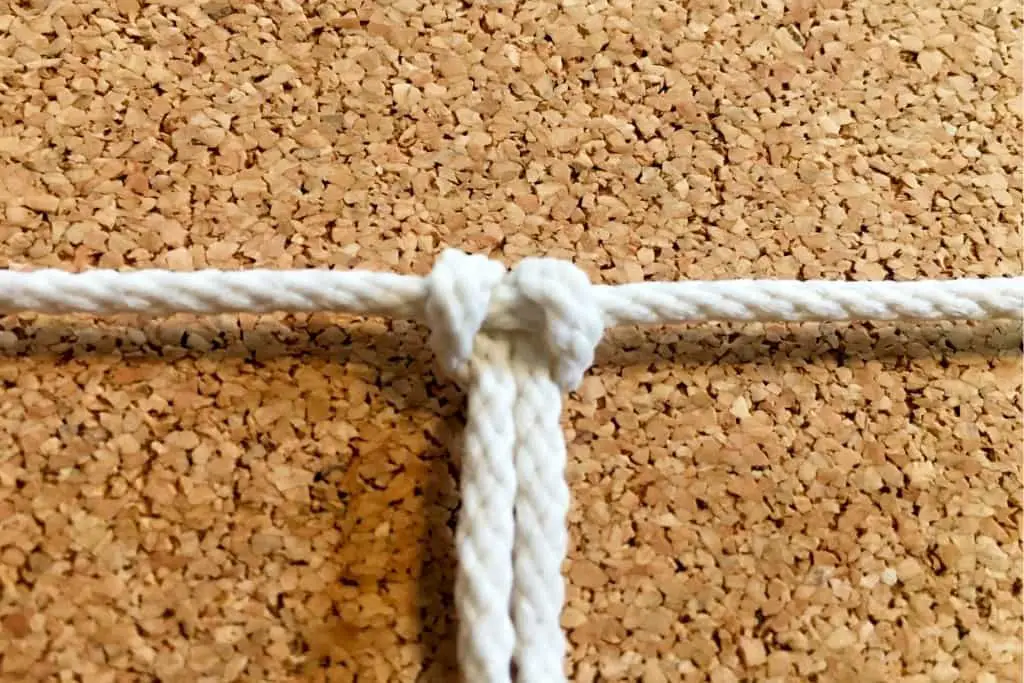
Tighten the knot until it’s snug. Your loop should be just below and parallel to the horizontal cord.
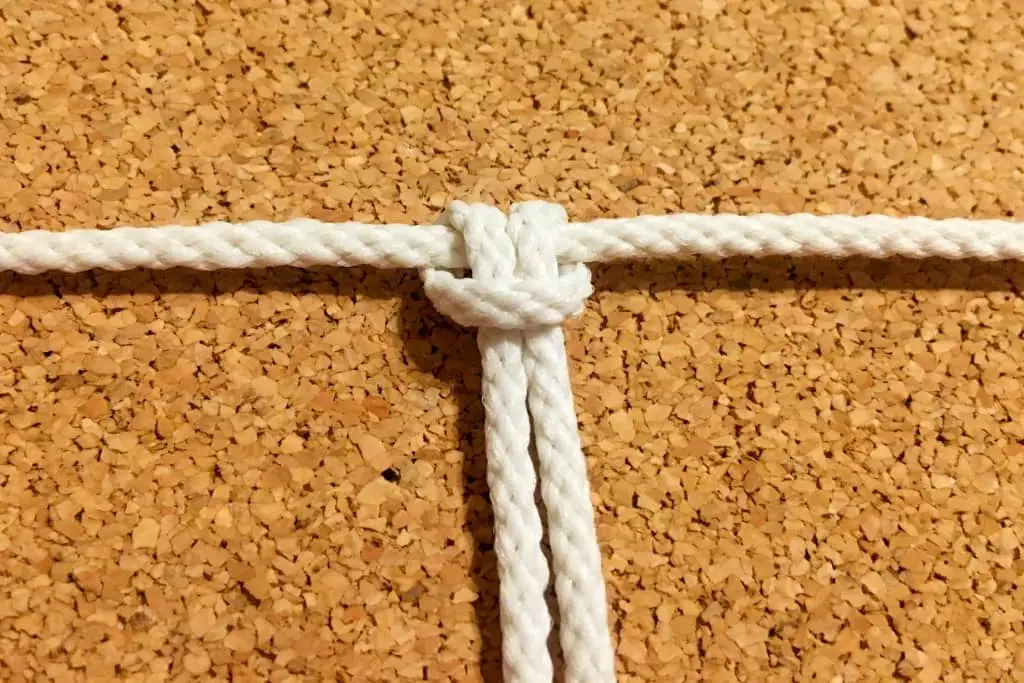
There’s your lark’s head! You’ve just made your first basic macramé knot.
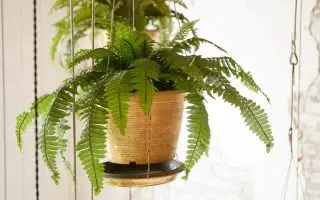
You may also like: 12 DIY Indoor Hanging Planters to Beautify Your Home
Reverse lark’s head knot
The reverse lark’s head knot is made similarly to a regular lark’s head, and can also be used to anchor a cord. You might not use this knot as often as a lark’s head knot, but you might as well learn it now, since it’s so similar.
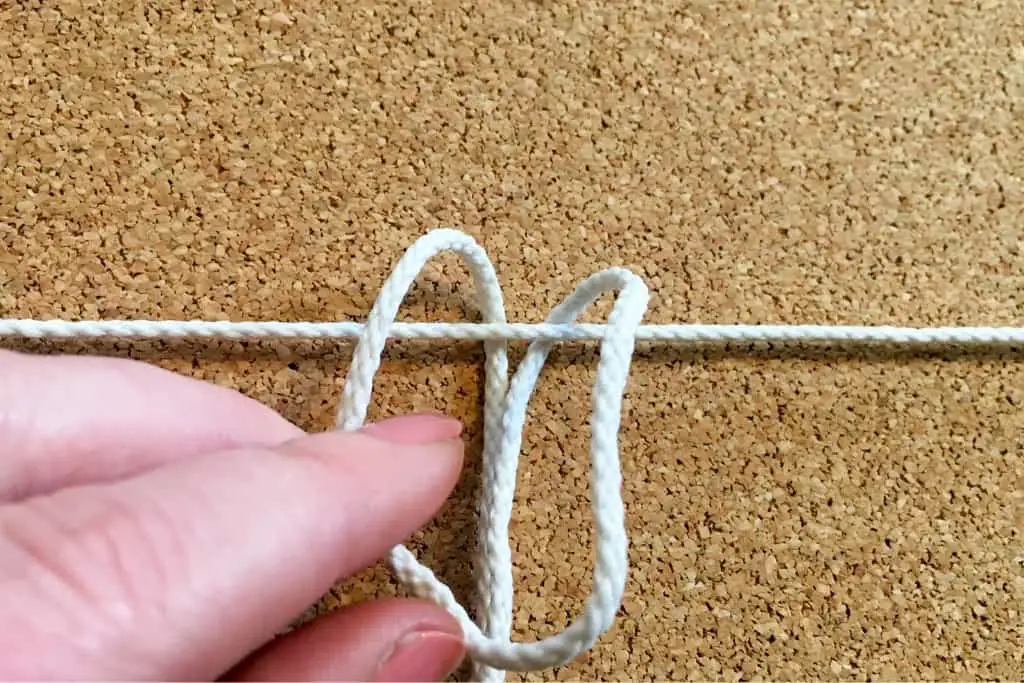
Just as with a regular lark’s head knot, begin with a length of cord folded in half. Put the looped edge under the cord you’re knotting it on.
Bring the loop up and over the top, toward the tails of your working cords.
Pull the tails through the loop, holding the knot in place so it stays even as you pull.
Tighten the knot and you have a reverse lark’s head!
Right-facing half square knot
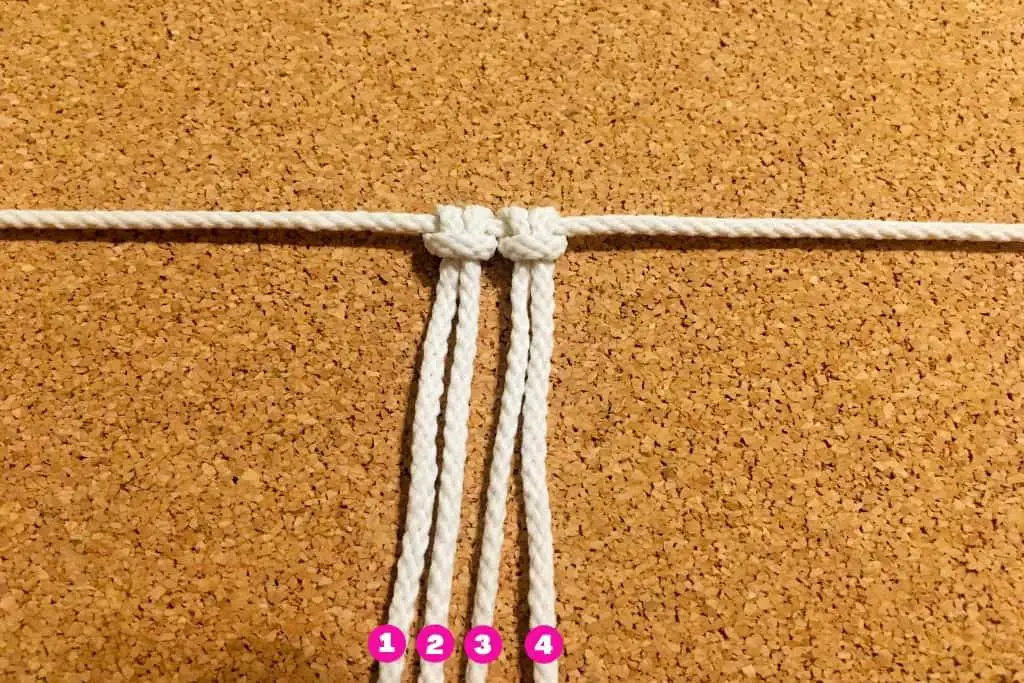
To make a right-facing half square knot, I’ve started with two lark’s head knots tied on a length of macramé cord.
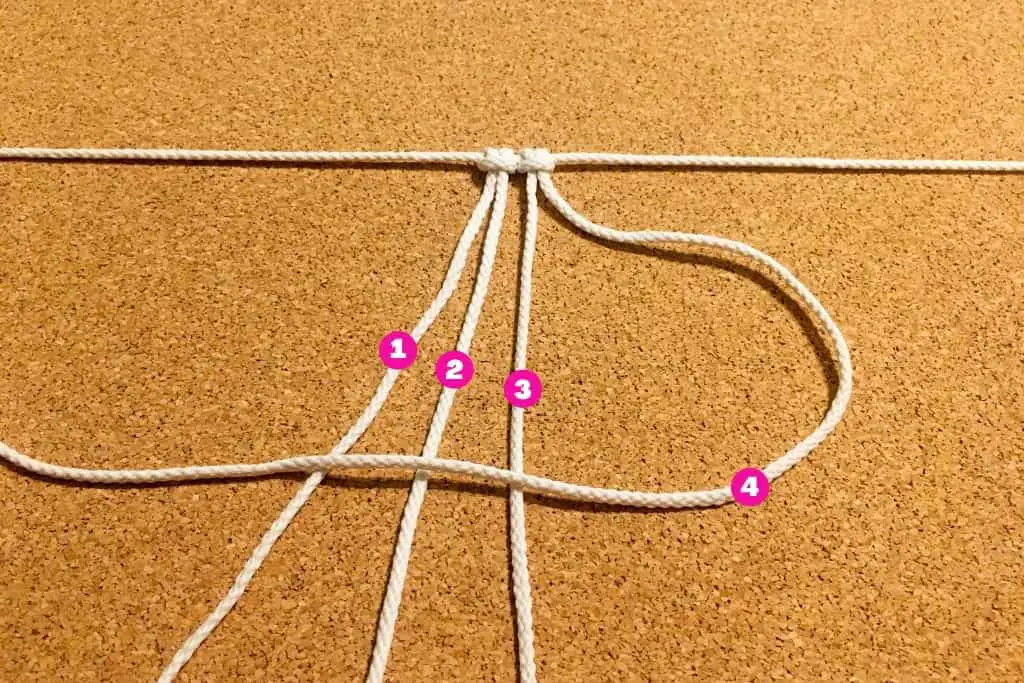
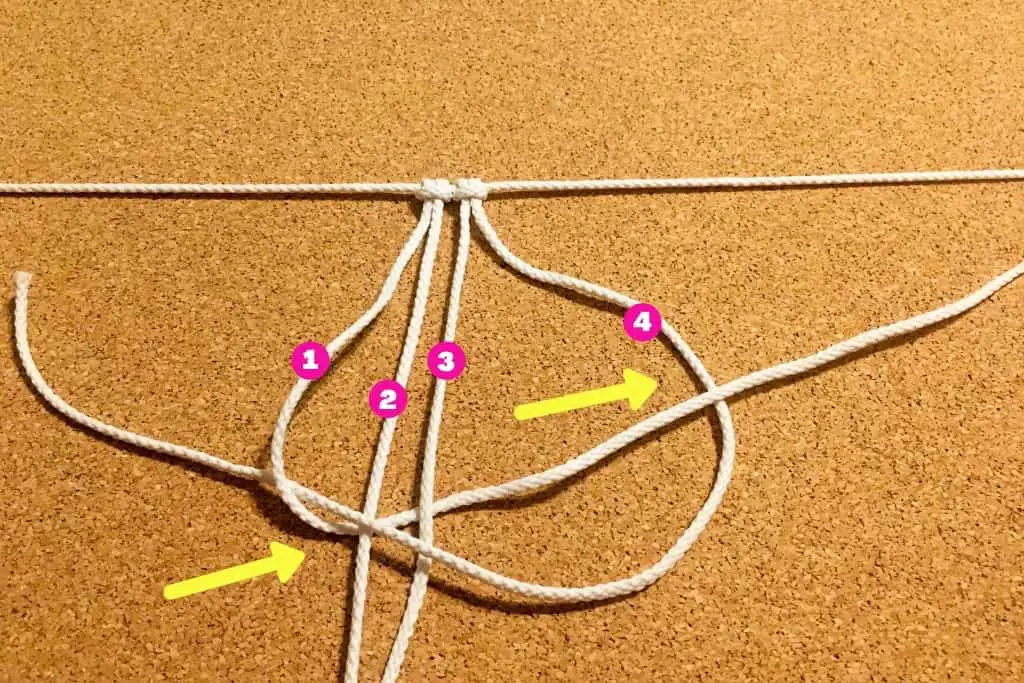
The cords on the outer edges (labeled 1 and 4 in the photo below) will be your working cords. These are the cords you’ll be using to make knots.
The two inner cords (labeled 2 and 3) are your filler cords. These cords won’t be used for knotting, but they’ll end up inside the knots you make.

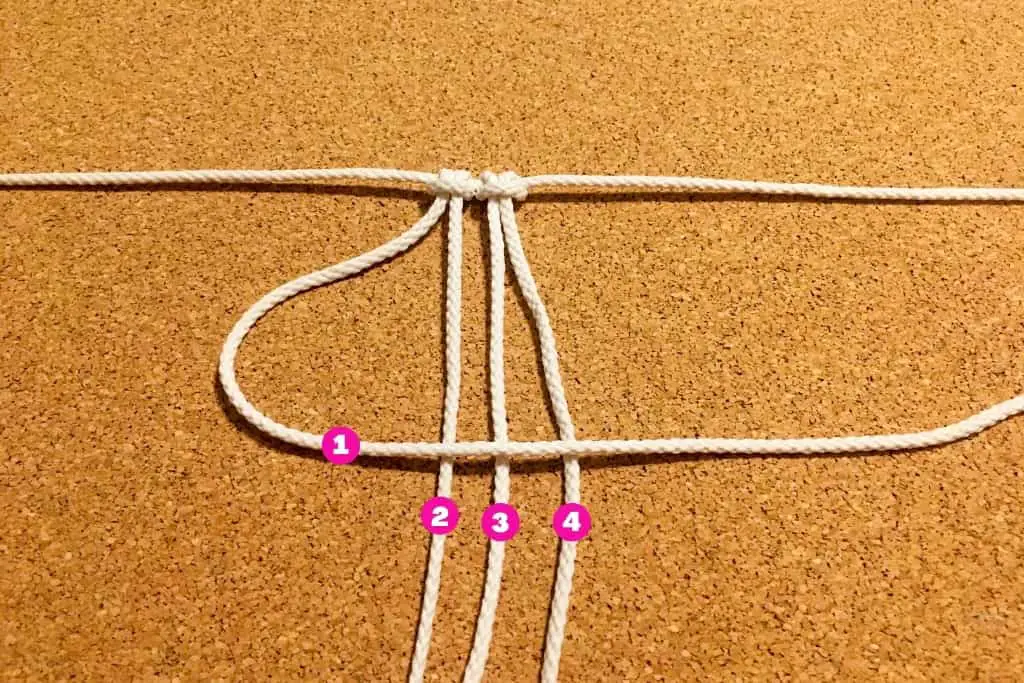
Take your right working cord (4) and make a half-loop, laying its tail end over all the other cords. This should resemble the letter P.
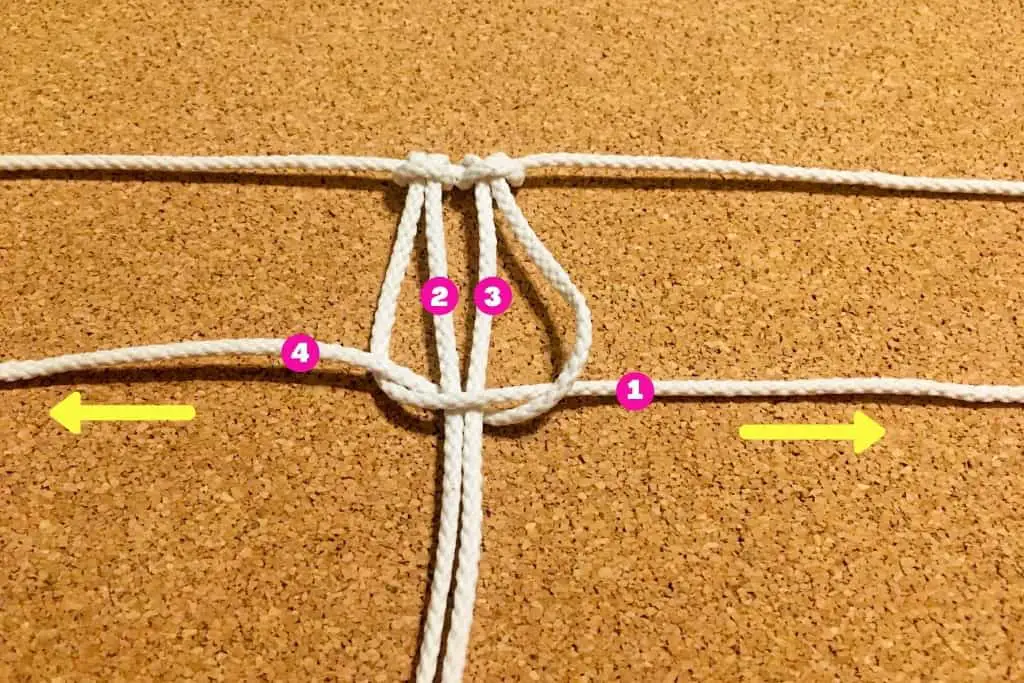
Take your left working cord (1) and move it on top of your right working cord (4). Your filler cords (2 + 3) don’t move.
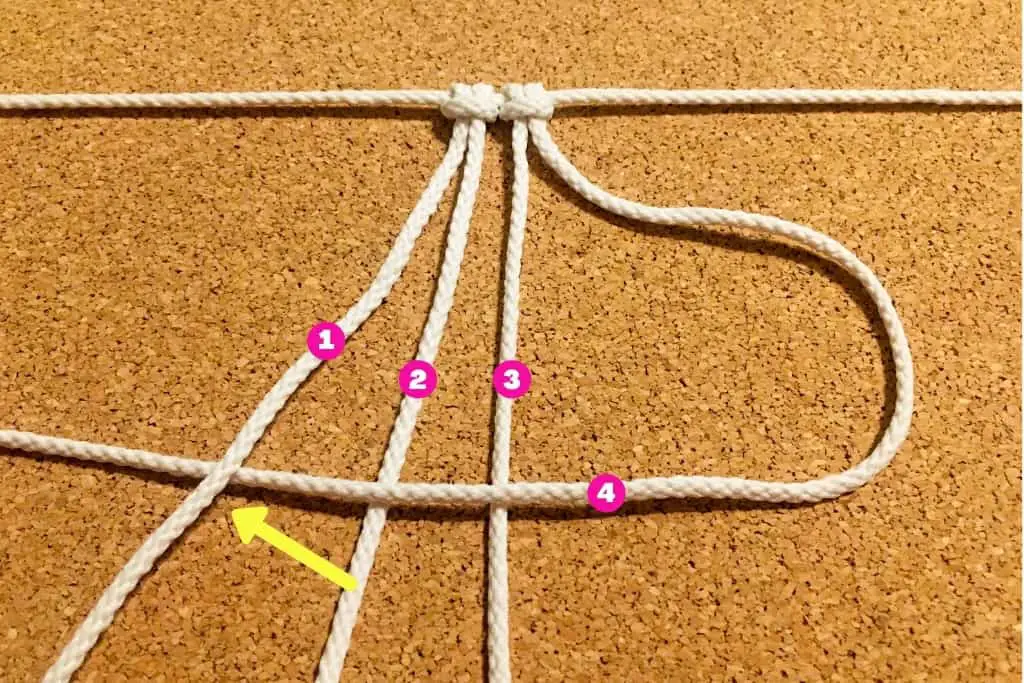
Pass your left working cord (1) under both filler cords (2 + 3) and up through the loop in the P shape made by your right working cord (4).
Pull on both working cords (1+4) to tighten the knot. You’ll need to tug on your filler cords (2 + 3) to prevent them from bunching up.
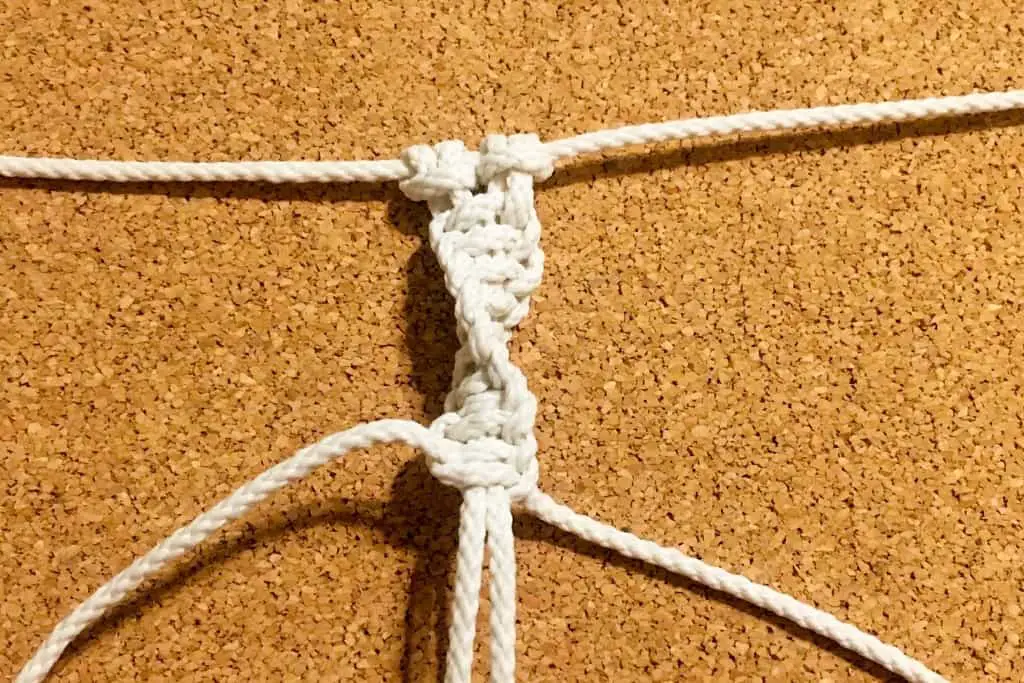
Tighten your knot all the way up to the base of your two lark’s head knots, and you’ve made a right-facing half square knot.
If you continue to make the same knot, you’ll end up with a decorative twist! The tighter you tie the knots, the tighter your twist will be.
Left-facing half square knot
A left-facing half square knot is made just like the right-facing one, just in a mirror image. Again, I’ve started with two lark’s head knots tied on a length of cord.
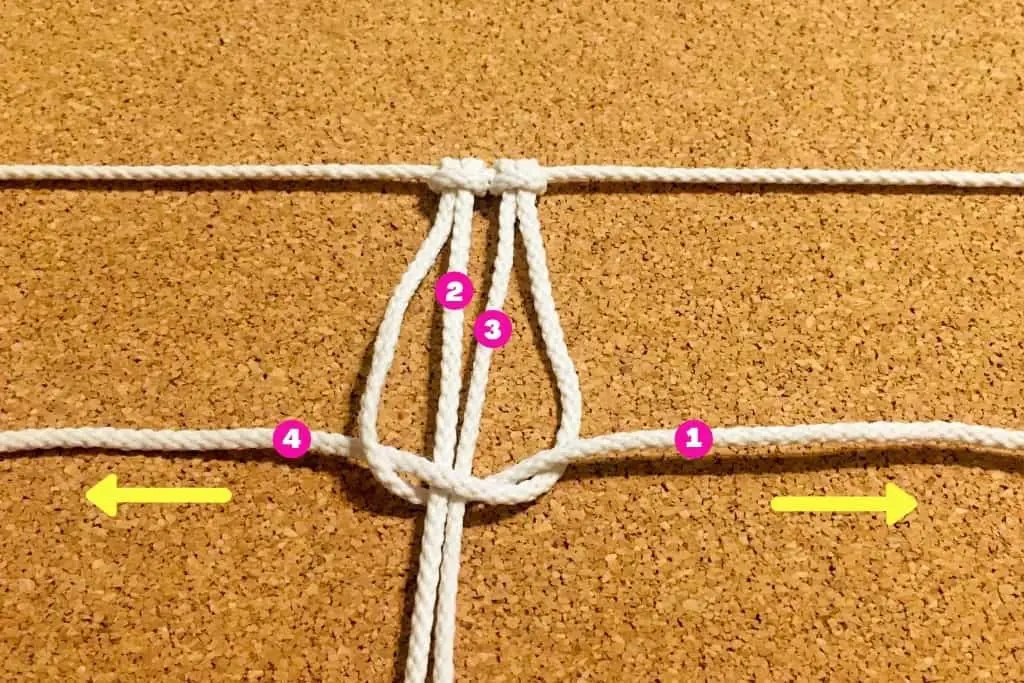
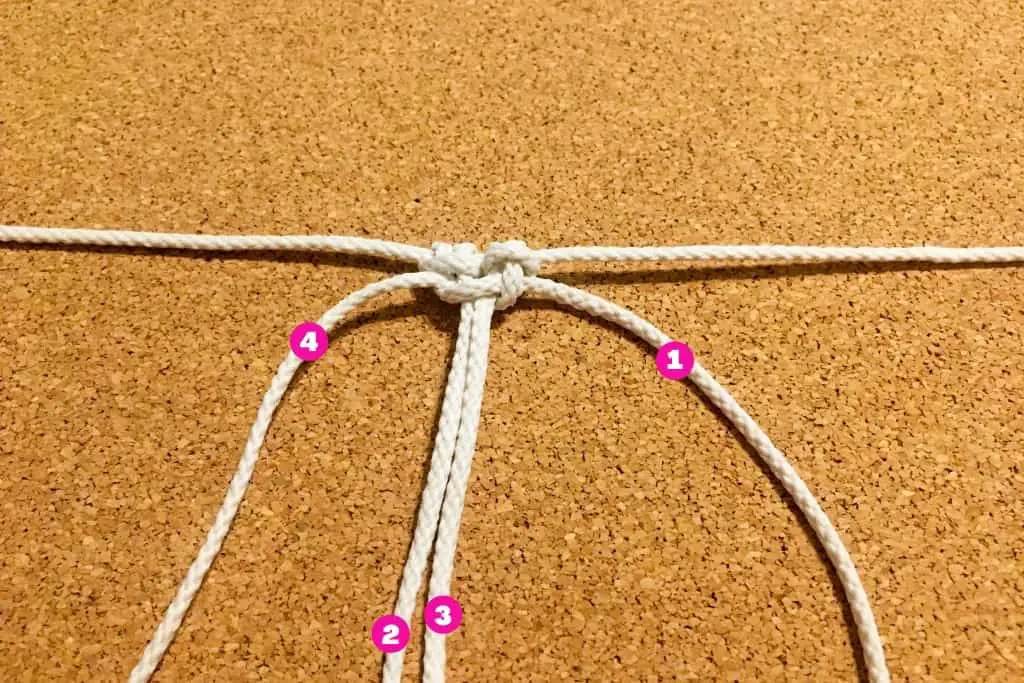
Take your left working cord (1) and make a half-loop, laying its tail end over all the other cords. This should resemble the number 4.
Take your right working cord (4) and move it on top of your left working cord (1). Again, your filler cords (2 + 3) don’t move.

Pass your right working cord (4) under both filler cords (2 + 3) and up through the loop in the 4 shape made by your left working cord (1).

Pull on both working cords (1+4) to tighten the knot. You’ll need to tug on your filler cords (2 + 3) to prevent them from bunching up.
Tighten your knot all the way up to the base of your two lark’s head knots, and you’ve made a left-facing half square knot.
If you continue to make the same knot, you’ll also end up with a decorative twist, just as you did with the right-facing square knot. The only difference is that the spiral twists in the opposite direction.
Square knot
One more basic macramé knot to go—the square knot! For this knot, you’ll use the skills you practiced with the lark’s head knot and both the right- and left-facing half square knots. (If you need to practice these, go back to those sections in the post for step-by-step instructions.)
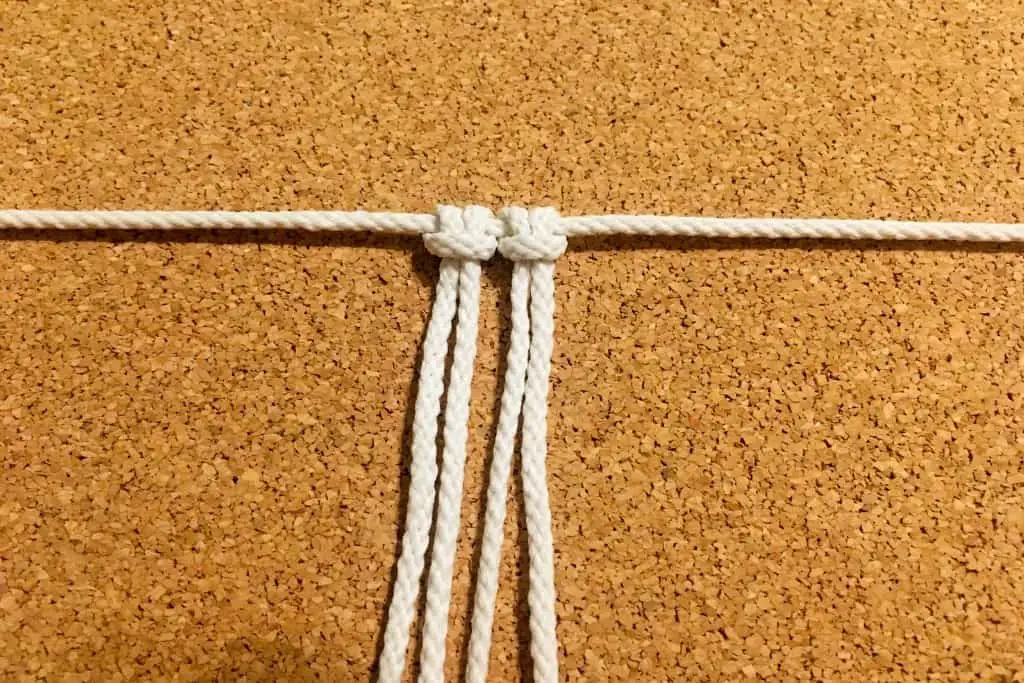
Start by tying two lark’s head knots.
Next, tie a half square knot of your choice. I usually begin with a left-facing knot, but it really doesn’t matter which direction you choose. Tighten your knot just below your two lark’s head knots.
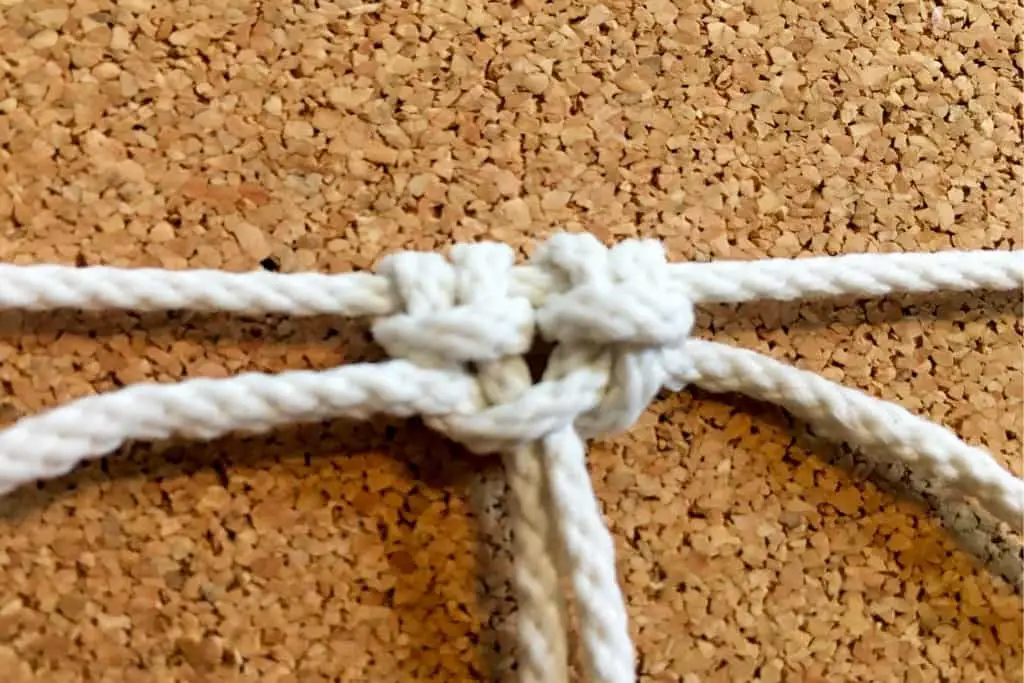
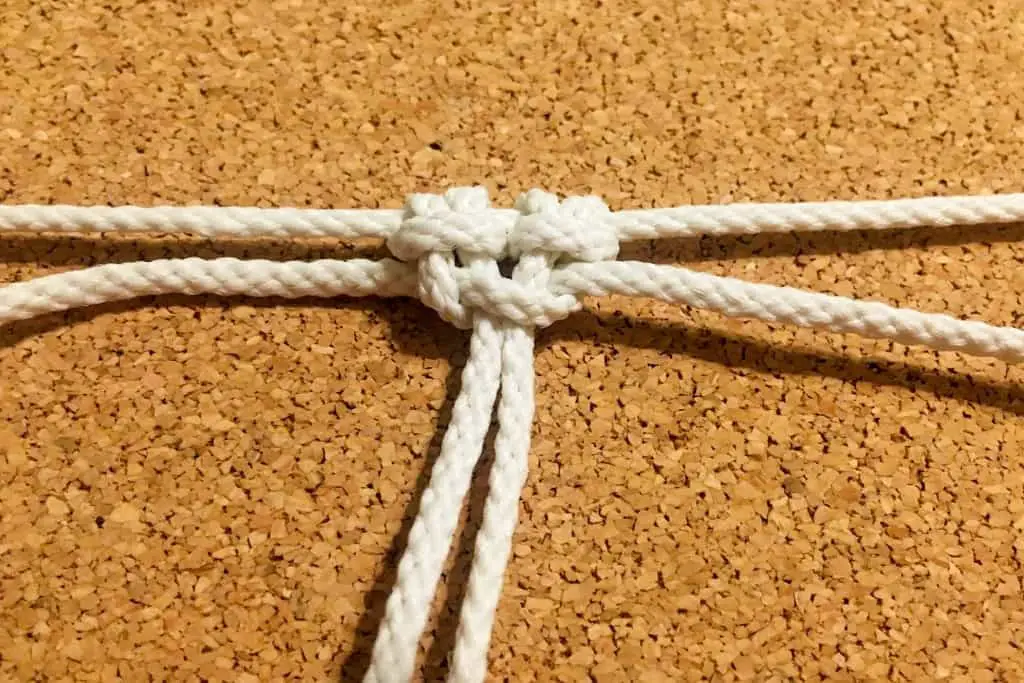
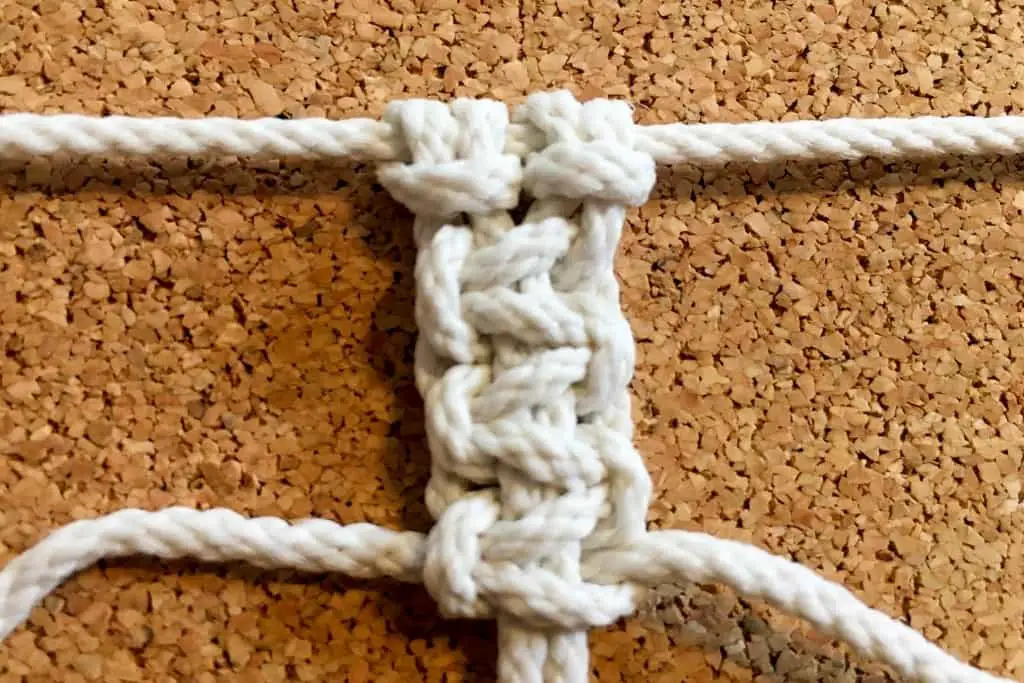
Now create the opposite half square knot. I started with left-facing, so my second knot will be a right-facing square knot. These two knots complete your first square knot.
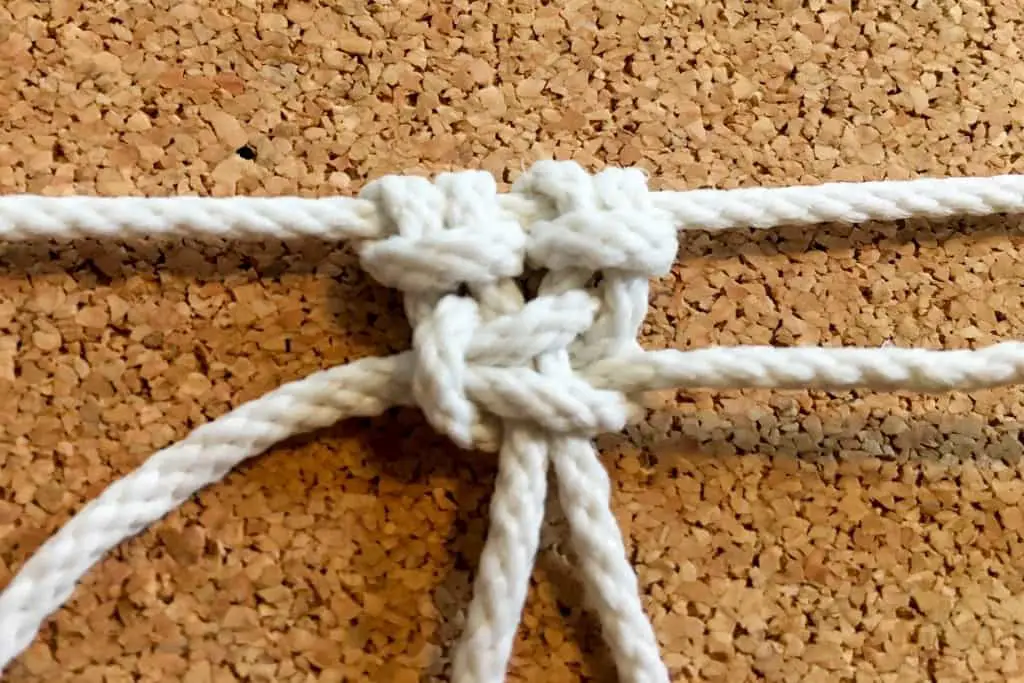
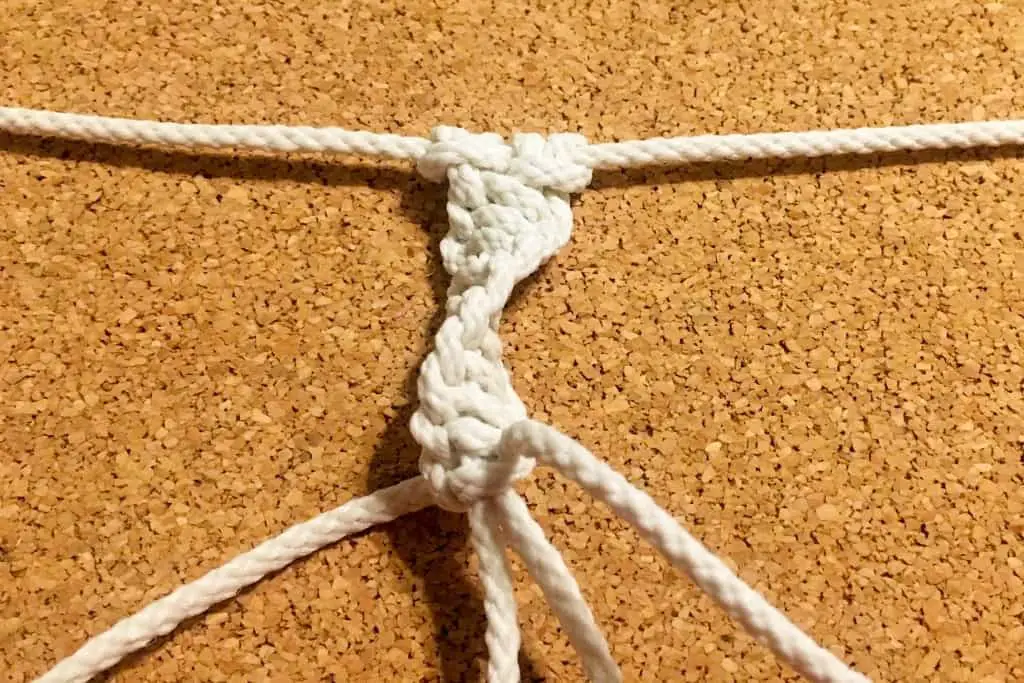
If you continue, be sure to keep alternating your half square knots to complete more full knots. Here’s a row of three. Unlike the half square knots, completing more square knots won’t result in a spiral pattern—it will lie flat.
There you have it, the first five basic macramé knots! With these skills under your belt, you’re now ready to make a simple plant hanger. Check back soon, as I’ll be posting instructions for easy macramé projects including a 10-minute plant hanger!
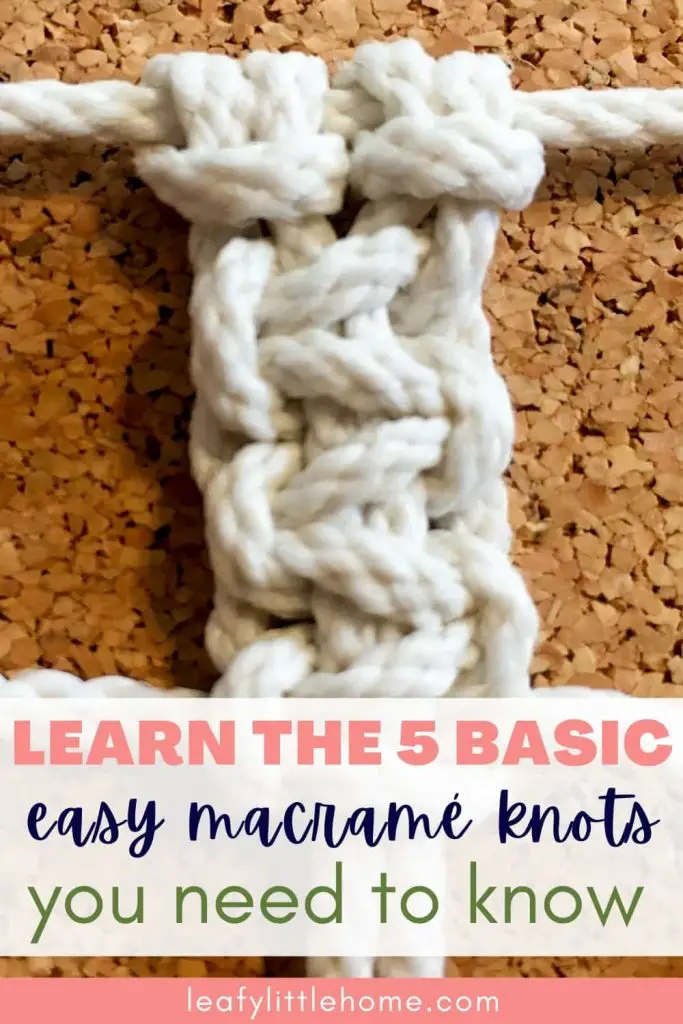
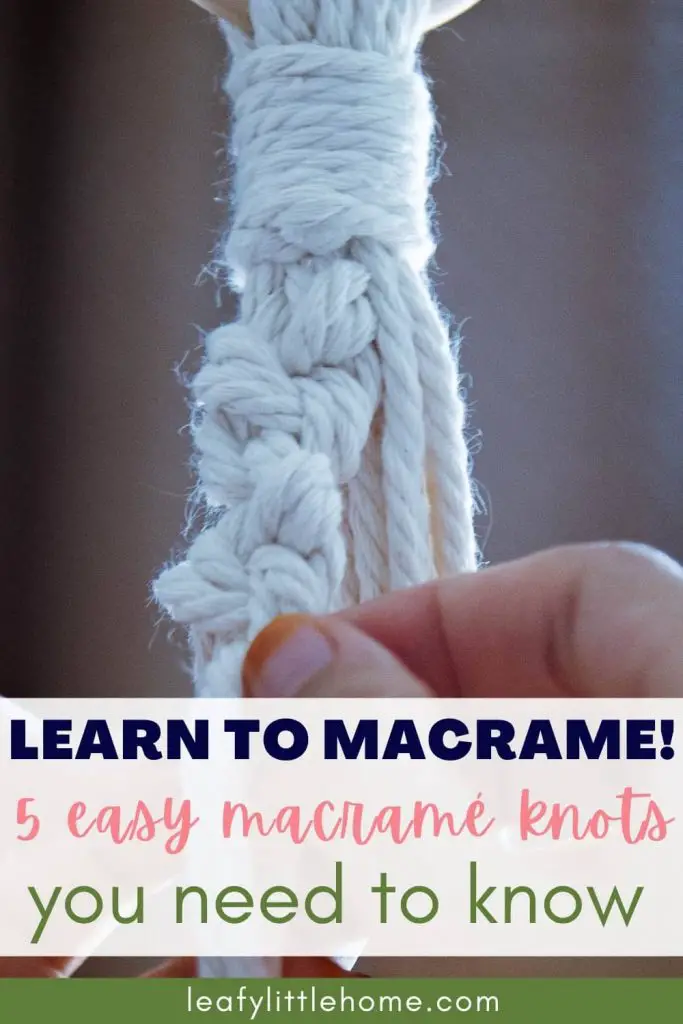
Like this post? Pin it for later!

GET A FREE PLANT CARE TRACKER!
Sign up for the Leafy Little Home newsletter, where we share plant tips and inspiration to turn your space into a green oasis. Plus, we’ll send you a handy printable Plant Care Tracker, absolutely free!
By signing up you agree to receive the Leafy Little Home newsletter. Unsubscribe at any time.
Have you mastered the basic macramé knots? Let me know what macramé projects you’re planning to make in the comments below!


I love the handmade, large or small, of embellishment or useful. So I’ll try the technique!
Hi Cristina, I love handmade things, too! Glad you’re planning to try macramé – it’s a really fun and relaxing craft.
I have so many plants since the quarantine so I’m definitely going to make a macrame plant holder! Thanks for this.
Hi Liz, I can relate! My plant collection grew quite a bit over the past year, too. Have fun making your macramé plant hanger!
I’ve always wanted to try macrame. I didn’t realize it was such a straightforward process. Thank you!
Hi Kuntala, macramé is really easy once you learn the basic knots!
this should be simple enough to follow, even for me, who is “craft-challenged”, lol. My daughter does macrame on occasion and she is really good at it. I find it very pretty, blessings!
Hi Claudia, I think macramé is so pretty too! You should give it a try – basic projects are easy and quick, and you can make lots of useful and decorative pieces :)
I don’t have a crafty bone in my body but this was veryy easy to follow!
Hi Brianna, I’m so glad you found my macramé tutorial easy to follow! Hope you enjoy making some pieces :)
That sounds like a great skill to learn and I have a lot of plants I can use on.
Hi Lyanna, I hope you give macramé a try – you’ll be able to make lots of beautiful plant hangers for your collection!
Macrame sounds really tough for me but the way you showed step feel like i should try again.
Hi Angela, macramé can look difficult to make, but it’s really very easy! Start with a simple piece using these beginner knots, and you’ll be amazed at what you can make.
I’ve always wondered how macrame was made. Thank you so much for sharing this. I might have to give it a try!
Hi Elizabeth, definitely give macramé a try! It’s such a fun hobby and super-easy to learn :)
I love the look of macrame but never thought to create a piece myself. I need to give this a try the next time I’m feeling crafty.
Hi Mar, you definitely should try macramé when you have an itch to craft something! It’s really fun and quick to make basic pieces :)
I wondered how to do this! I’m going to give it a try! Thanks for sharing.
Hi Brianna, I’m glad I could show you some basic macramé! Have fun creating :)
I used to love decorative knots as a kid, but I never realized how useful they could be in decorating as an adult. Thanks for the refresher course!
Hi Lillie, I bet your knot-tying experience will help with macramé – it uses a lot of the same knots I used to use as a kid to make bracelets and lanyards. Hope you’re able to give it a try!
My sister loves plants and is starting to get into Macrame hangers. I will definitely pass this along to her.
Hi Ashley, I bet your sister will love making macramé plant hangers! It’s so fun to customize them to your style and the size of the planter :) Thanks for passing my post along!
Macrame sounds really hard but it would be an easy process if you correctly follow the procedure on doing it. Thank you!
Hi Gervin, macramé is actually much easier than it looks! Just try the basic knots and I know you’ll be surprised at how quickly you pick it up.
I remember macrame being so big when I was a kid. I’m glad it’s making a comeback!
Hi Rosey, I’m glad macramé is back, too! It’s such a rewarding craft that anyone can do.
I always admire handicrafts! Your lesson on how to make Macramé is practical, creative, and rewarding. Thank you!
Hi Arūnas, I’m glad you enjoyed my macramé tutorial! Hope you’re able to make some fun projects with the basic knots :)
Thanks for the guide on how to do Macramé knot. This is the first time I tried it. I’ll keep on practicing!
Hi Emman, I’m so happy you gave macramé a try! If you keep practicing, you’ll get the knots down in no time :)
Macrame has been a popular way to decorate for decades, bringing texture and warmth into a home with knots that can be put together in unique ways
Hi Yudith, isn’t macramé such a gorgeous craft? Thanks for reading my tutorial on the basic macramé knots!
I didn’t know that these knots had a name. But you have explained how o do it, step by step!
Hi Mondipa, I’m so glad to share my tutorial with you! I hope you’re able to give these easy macramé knots a try.
With your pictures and instructions, this looks a lot simpler than I expected! I’d love to start this up during my maternity leave.
Hi Ronnie, what a great project for your maternity leave! Congrats on your upcoming new addition :)
Love this, I’ve been wanting to learn how to macrame for a long time.
Hi Alexis, I’m so happy I could help with this macramé tutorial :) Enjoy!
Thank you Carrie for teaching me on how to tie the Basic Macramé Knots. They are so easy to follow! By the way, it would also be great to have a video, it would be easier and good for lazy people who doesn’t like to read :)
Hi Sam, I’m glad you enjoyed learning the basic macramé knots! Great suggestion to add a video – I’ve actually been planning to record some video tutorials :)